By: Loretta Sebastiani

Felt Christmas tree with snow crystals
Christmas tree for craft lovers: sewing and needle felted wool techniques
This handmade decoration is for people who love D.I.Y. Christmas decorations. You have to cut out pine shapes from green felt, make snow crystals with needle felted wool and sew. A nice-to-see decoration not only for holiday season, you can show it all winter.

You'll need
- - Felted fabric or a fabric that unravels at the edges
- - Felting wool in white colour
- - Needle felting applique molds - snow crystal (Clover)
- - Pen Style Needle Felting Tool (Clover)
- - Felting needle mat (Clover)
- - White blackboard chalk
- - Scissors
- - Tape measure
- - Tacking thread
- - Sewing thread
- - Polyester stuffing (a 100x50 cm - 39" x 19.7" sheet)
- - Tree template (downlable and printable)

How to make a felt Christmas tree decorated with snow crystals
- - Step 1. Making pattern.
Download the pattern on A4 paper.
Print and cut it out. - - Step 2. Copy pattern on the fabric.
My pattern is for half the tree and so you have to place it on the doubled fabric (exactly on the fold) and fix with pins.
Draw around the tree pattern on to the fabric using a chalk.
You will need at least 1/4" extra for the seam.
Cut out the doubled fabric, so you have the whole tree.
Cut out other five shapes.
At this point you have six shapes of your tree, whole.
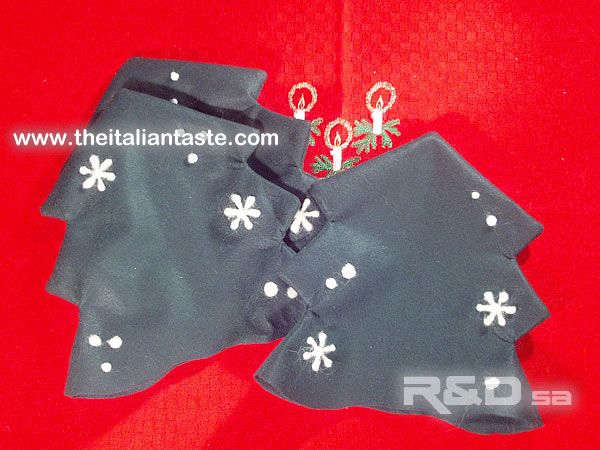
- - Step 3. Making snow crystals.
Decorate every shape with some snow crystals.
Place your fabric on the mat (be careful not to work too near the edges and the middle where you have to sew).
Place the mold over your fabric, then insert felting wool into the mold spaces and felt away.
Look at the photos for more details. - - Step 4. Sewing.
Place two fabric shapes right side together, tack and then sew with small stitches except the base (the gap for stuffing).
Turn your fabric right side out.
Make the same step with the other shapes.
At the end you have 3 double trees.
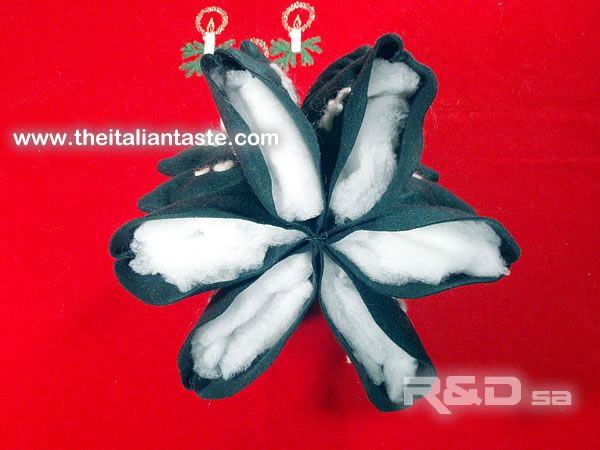
- - Fase 5. Assembling your trees.
Lay your 3 trees to perfection.
Pin together your 3 trees down the middle from the top to the base.
Tack and then sew with small stitches.
Now you have a whole tree divided into 6 portions. - - Fase 6. Stuffing.
Stuff well every portion.
Use the eraser end of a pencil to push the stuffing into the points.

- - Fase 7. Finishing touches.
Fold the edges in of the remaining seam and sew shut. - - Your stuffed Christmas tree is ready!
- - Show it all winter.
- - Look at Clover website for more details about felting products.
Rate this!